September 3, 2026
Whether you are replacing worn carpeting with sleek hardwood, laying down durable luxury vinyl plank, or installing elegant ceramic tile, beautiful new floors completely refresh your living space. However, step-by-step clarity regarding the actual installation timeline is essential for a smooth experience. Knowing what takes place behind the scenes alleviates stress and ensures your project stays on schedule and within budget. Modern homeowners increasingly recognize the value of expert craftsmanship for complex home upgrades.
According to CivicScience, four out of ten homeowners planning renovations in early 2026 intend to fully rely on a professional to complete the job. The journey begins long before any physical labor starts in your home. The initial consultation and assessment phase sets the foundation for a successful renovation. During this preliminary step, a dedicated professional will visit your home to measure the square footage accurately, evaluate the specific room conditions, and examine the existing floor structure. Every material requires different environmental conditions and subfloor readiness. This step ensures that accurate material quantities are ordered, preventing costly mid-project delays and ensuring that your investment receives the technical precision it requires from day one.
Material Delivery and Climate Acclimation
Once you have selected your desired materials and the order arrives, the next critical step is material acclimation. Many homeowners are surprised to learn that new flooring materials cannot simply be unboxed and installed immediately upon delivery. Materials such as solid hardwood, engineered wood, and even certain types of vinyl and laminate are sensitive to temperature and humidity fluctuations. They must sit inside your climate-controlled home for a designated period, typically ranging from forty-eight hours to several days, to adjust to the natural indoor environment.
Skipping this essential preparation step can lead to severe structural issues later on, including warping, buckling, or unsightly gaps between planks. During this waiting period, your flooring installer will coordinate the final timeline and confirm that your home's humidity and temperature levels remain stable. This crucial step protects the manufacturer's warranty and ensures that the material behaves predictably once it is secured to your subfloor.
Workspace Prep and Demolition Day
On the first official day of installation, the focus shifts to preparing the physical workspace. Proper job site preparation is vital for protecting the rest of your home from dust, debris, and accidental damage. Before work begins, you will typically be asked to clear the room of all personal belongings, small décor items, and fragile objects. While some homeowners choose to move their own heavy furniture, many opt to include furniture moving as part of their professional service package.
Once the room is clear, the work area is isolated using protective plastic sheeting across doorways to contain ambient airborne dust. The existing floor covering, whether old carpet, outdated vinyl, or worn tile, is carefully torn out and hauled away for disposal. After the old material is removed, your flooring installer thoroughly cleans the exposed subfloor, removing lingering nails, staples, and debris. Any minor subfloor repairs, such as securing loose boards to eliminate squeaks or applying a self-leveling compound to smooth out low spots, are completed during this phase to create a perfectly flat, clean canvas.
Subfloor Testing and Surface Leveling
With the old materials cleared away, the installation crew performs detailed subfloor testing. Subfloor integrity is the single most important factor determining the long-term performance and appearance of your new floors. Concrete subfloors must be tested for hidden moisture emissions, while wood subfloors must be checked for structural soundness, rot, and deflection. Excess moisture trapped beneath new flooring can cause adhesives to fail, wood to expand destructively, or mold to develop over time.
If moisture levels exceed acceptable manufacturer thresholds, specialized moisture barriers or primers must be applied to the surface. Furthermore, any remaining unevenness must be meticulously sanded down or filled in. An experienced flooring installer understands that cutting corners on subfloor preparation will inevitably compromise the finished product, regardless of how high the quality of the surface material may be. Taking the time to properly prep, level, and seal the base ensures that the final surface remains quiet, stable, and visually flawless for decades.
Strategic Layout Planning and Chalk Lines
Before laying down the first plank, tile, or roll, the crew establishes a precise visual plan. Layout planning is both a technical science and an aesthetic art form. Rooms are rarely perfectly square, and walls are seldom completely straight. Simply starting along one wall without careful measuring can result in crooked rows, awkward cuts, and unbalanced visual lines that diminish the overall beauty of the room.
The crew calculates reference points and snaps chalk lines across the subfloor to establish straight guidelines. They plan the direction of the planks or tiles to complement the natural light entering through windows and to align naturally with major architectural features or doorways. During this stage, your flooring installer will also strategically blend planks from multiple boxes. Because natural wood and manufactured tiles feature subtle shade variations, mixing materials from different packages creates a harmonious, natural distribution of color and pattern throughout the entire space.
Active Floor Laying and Technical Craftsmanship
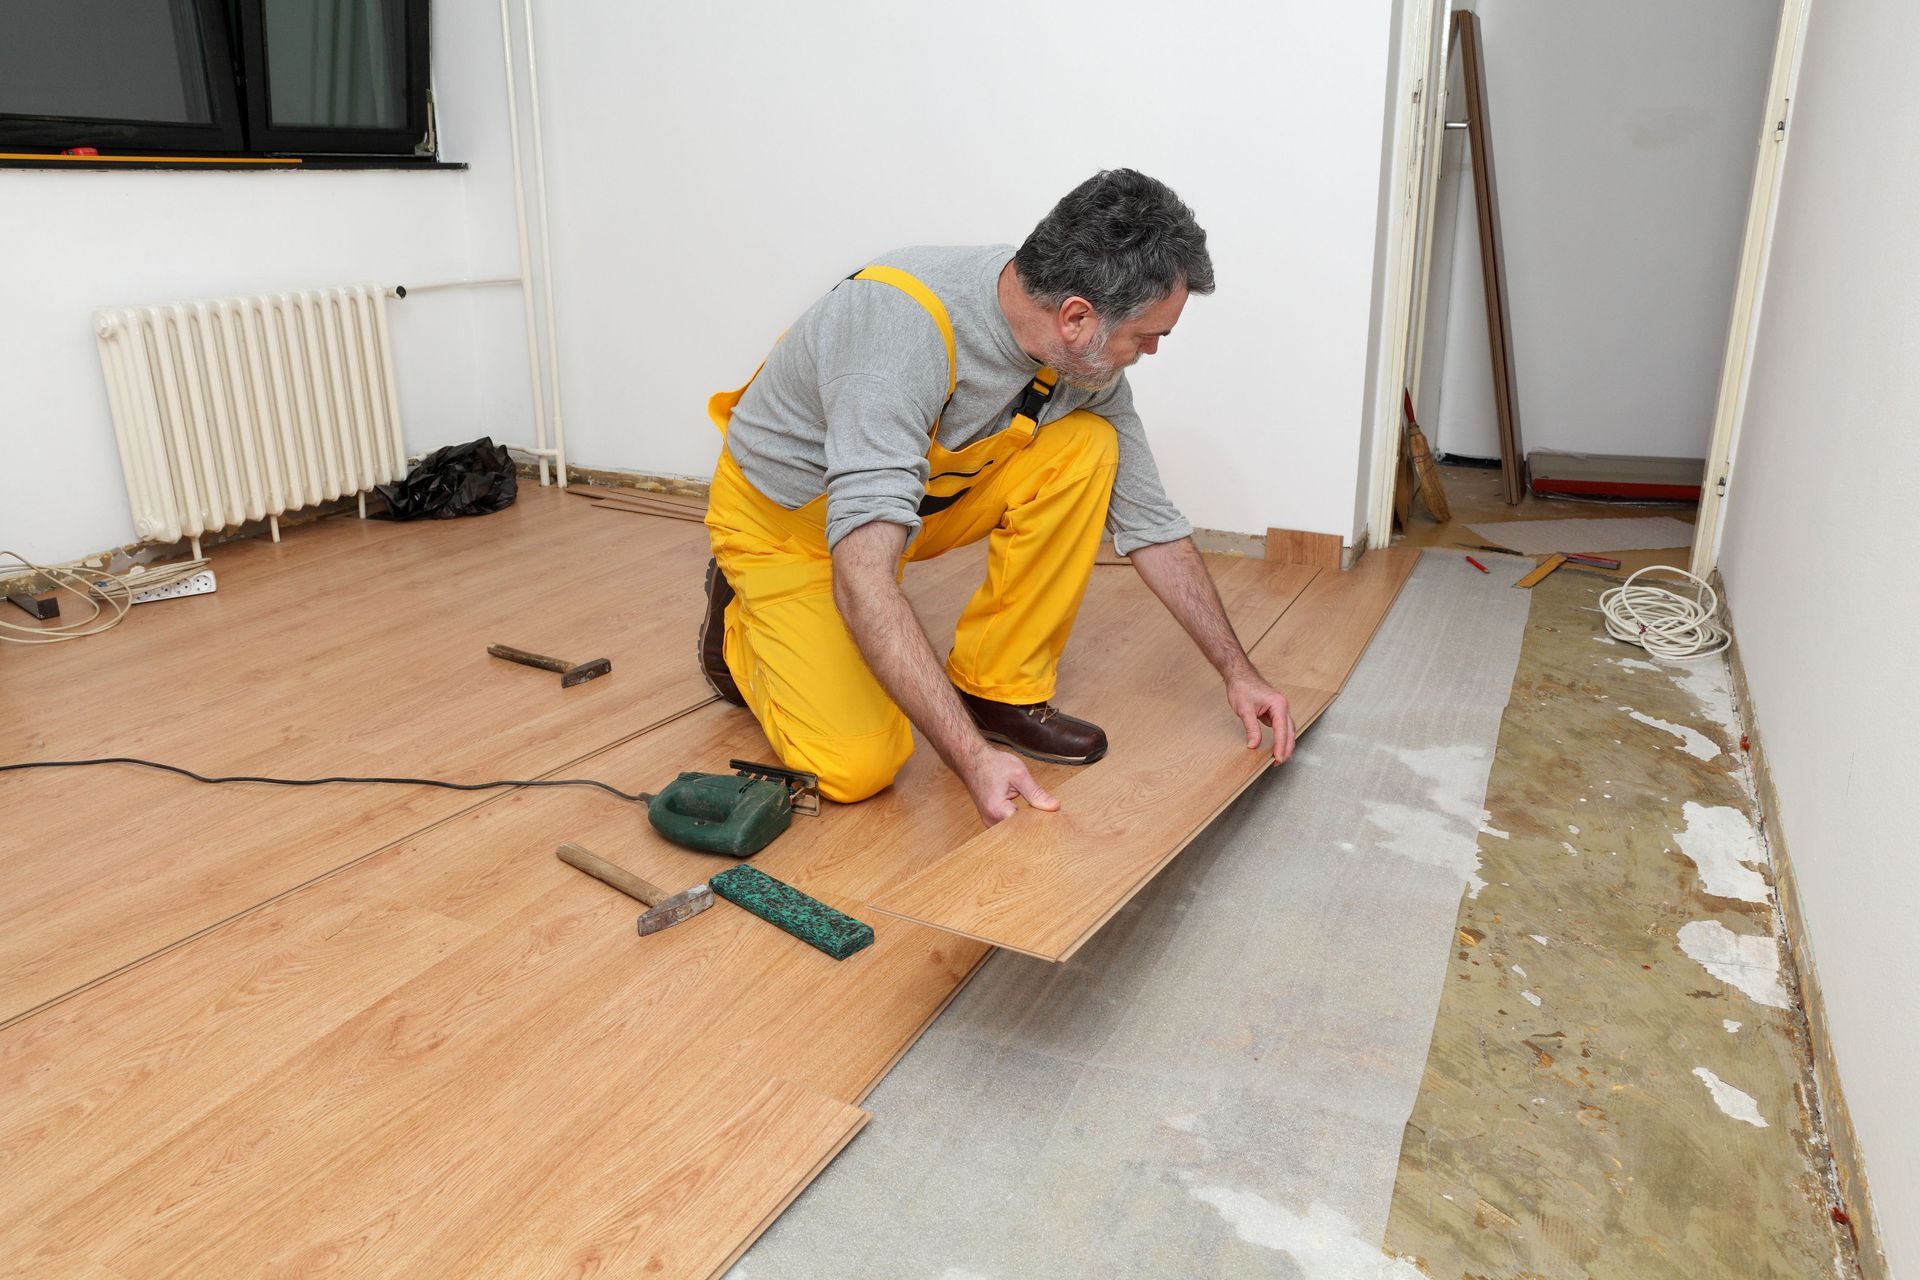
With the prep work completed and the layout established, the primary installation work actively begins. The exact methods used depend entirely on the material you chose. Hardwood might be nailed or stapled down to a wooden subfloor, luxury vinyl planks might snap together as a floating floor system, ceramic tile requires setting in mortar and applying grout, and sheet goods require specialized full-spread adhesives.
Throughout this active phase, precision and attention to detail are paramount. Every cut around door jambs, heating vents, and wall corners must be executed with exacting accuracy. Expansion gaps must be left around the perimeter of the room to allow natural materials to expand and contract with seasonal humidity shifts. A qualified flooring installer uses specialized equipment, such as precision power saws, pneumatic floor nailers, tapping blocks, and tile cutters, to achieve tight joints and seamless transitions between rooms. Watching the transformation take place row by row highlights the incredible value of trained handiwork.
Moldings, Transitions, and Site Cleanup
After the main floor surface is completely laid, the project enters the final detail phase. A brand-new floor is not truly complete without proper trim, molding, and transitional elements. Baseboards that were removed prior to installation are reattached, or new shoe molding and quarter-round trims are installed along the perimeter to cover the mandatory expansion gaps left along the walls.
Transitional strips, such as T-moldings, reducers, or marble thresholds, are carefully fitted at doorways and entry points where the new floor meets different floor coverings in adjacent rooms. These transitions serve both a practical safety purpose by eliminating tripping hazards and a visual purpose by creating clean, polished boundaries. During this final stretch, your flooring installer vacuums up fine dust, wipes down the newly installed surfaces according to material care guidelines, and collects any remaining scrap materials, leaving the space pristine and ready for use.
Final Walkthrough and Care Guidelines
The final step in the professional installation process is the post-installation walkthrough. Once the site is clean and tools are packed away, you will walk through the finished space together with the project lead to inspect the results. This is your opportunity to examine the craftsmanship up close, check the trim work, look at the door transitions, and ensure every detail meets your expectations.
During this conversation, your flooring installer will explain essential cure times, such as how long to wait before moving heavy furniture back into the room or when grout and adhesives are fully dry. They will also provide specific maintenance and cleaning guidelines tailored to your new material, advising you on approved cleaning products, proper vacuum settings, and the use of protective felt pads under furniture legs. Following these expert recommendations ensures your new floors retain their beauty, durability, and value for many years to come.
Investing in new flooring is one of the best ways to elevate your home's comfort, style, and lasting value. By trusting seasoned professionals with every phase of the project, you can avoid the stress of DIY errors and enjoy a seamless, high-quality transformation. Contact HarPat Carpet and Flooring today to schedule your in-home consultation and start bringing your dream floors to reality!